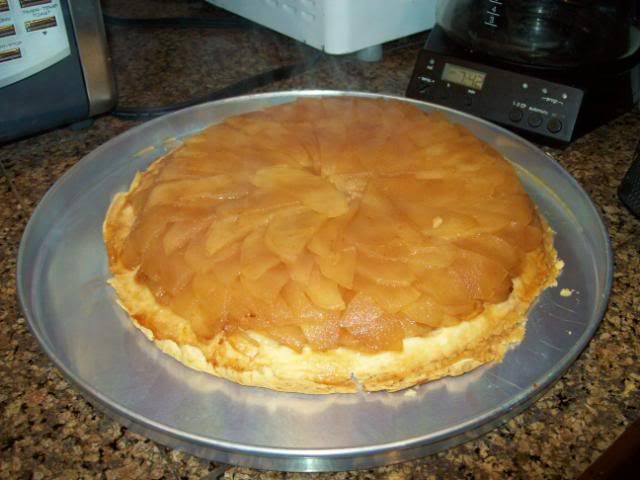
So this was basically my first time trying anything beyond a basic pie. I've made my own crust previously for a quiche, but had never made an entire semi-complicated pie from scratch before... was pretty proud of myself. I used Jacques Pepin's recipe in "Complete Techniques" (great book BTW) as a starting point but didn't follow it exactly. Here's the recipe/technique I used:
Apples:
6 Braeburn apples -- you could certainly use green apples, and they'd probably be a little crisper by the end, but I'm a red apple fan, and Braeburns don't have a ton of juice so it kept the crust nice and crispy.
1/3 C white sugar
1/2 stick of butter
Dash of cinnamon for seasoning
Slice the apples as thinly as you can while making sure they're complete cuts and fairly uniform. I slice the apples in half twice (along the core, then the remaining sides) and then use the flat cut side as a base for slicing. If you have a mandolin, do it that way and it will be faster. Melt the butter until it is foaming, then add the apples, then the sugar.
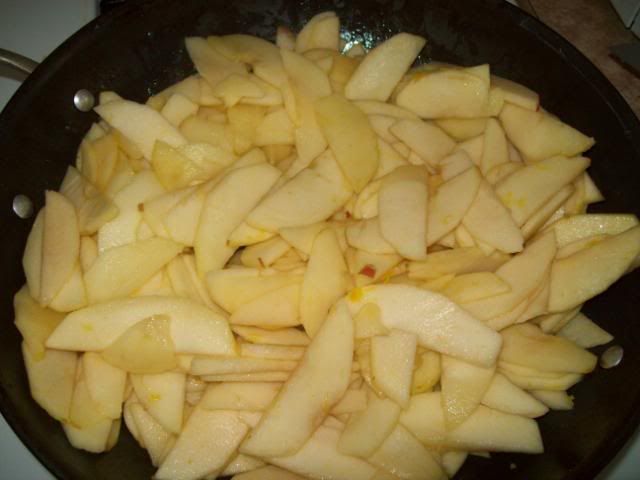
You only want to cook the apples enough for them to be coated in the sugar/butter mix and slightly tender... they have nearly 45 minutes of cooking ahead of them, so don't get them mushy. I sprinkled a little cinnamon over them after removing them from the pan to a cookie sheet lined with wax paper. you want the apples to be at least room temperature (or colder) before trying to arrange them. Make the caramel while the apples are cooling to save time.
Caramel:
1/3 C sugar
Water
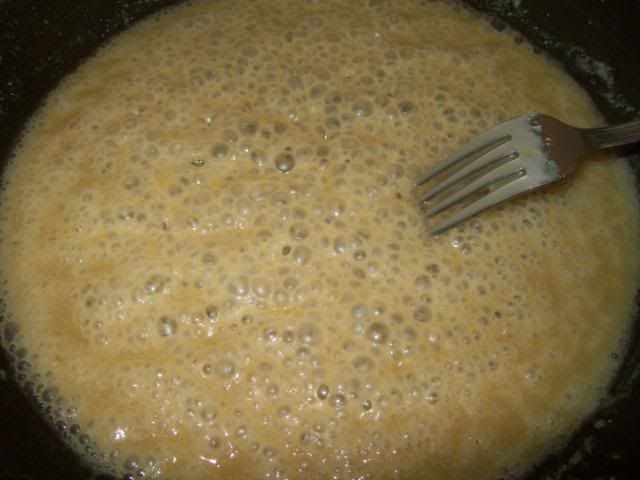
This is where I diverged from Jacque's recipe a bit... instead of using simply water and sugar for the caramel, I used the remaining cooking liquid from the apples, which is a nice sweet apple butter that I thought would add some additional apple flavor. So anyway, I added the sugar all at once to the remaining juices and then added water periodically when I noticed it reducing too quickly.
Cook the mixture while stirring constantly to avoid clumping or burning. The mixture will look like this for quite a while (I had it on med-low heat, but it would go faster over medium):
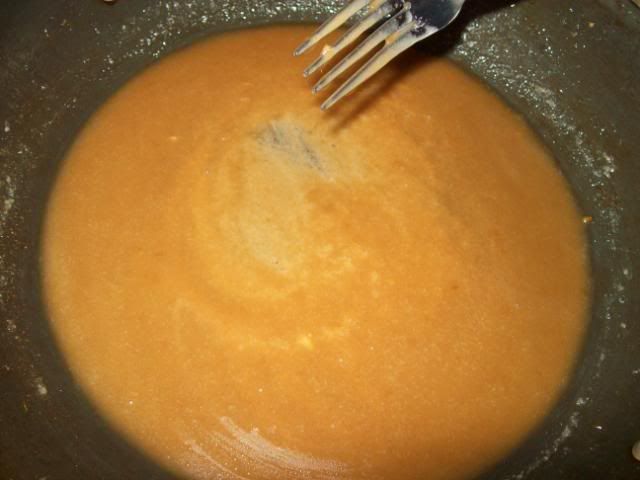
Keep cooking it (raise the heat if you want to, but be careful not to go too crazy) until you get a nice golden brown like this:
After cooling the apples, pour the hot caramel into the pie plate, moving it around to distribute it as well as you can around the bottom of the plate and a bit of the sides. Now, arrange the slices as precisely as you can on the pie plate -- remember that the bottom will the be the top, since tarte tatin is an upside-down tart, so the curved part of the apples should be on the bottom. Start from the center and arrange them in an overlapping circular pattern, working your way towards the outside of the pie plate. Once you reach the edge, start from the middle again. Any small or broken pieces of apples can be effectively hidden in the middle of the tarte, so save the nicest ones for the first layer on the bottom and for the sides. Anyway, this is what mine looked like after loading it up with all 6 apples and the pieces:
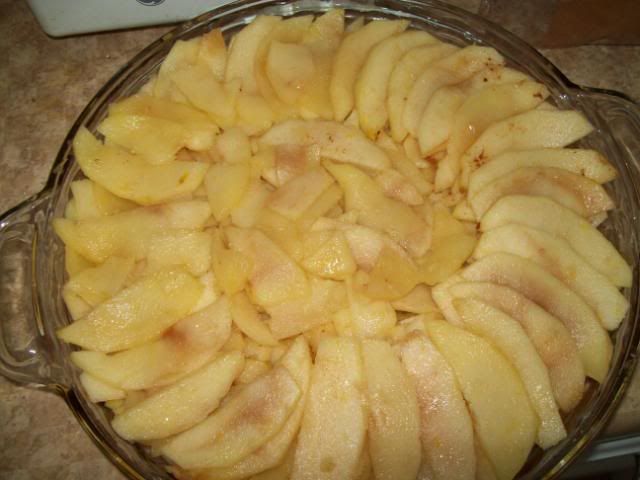
The apple and caramel portion is ready to go, now onto the crust:
Crust:
2 C AP flour
1.5 sticks of butter (6 oz.), cold and cut into small pieces... or you could use half and half and use lard or vegetable shortening
1/4 tsp salt
1/2 tsp sugar
1/3 C cold water (amount varies)
Add the butter to the flour (which should be tossed with the salt/sugar) and either use a pastry cutter or "pinch" the butter winto the flour until it resembles corn meal. If there are some larger butter chunks left, that's no problem.. just makes it flakier.
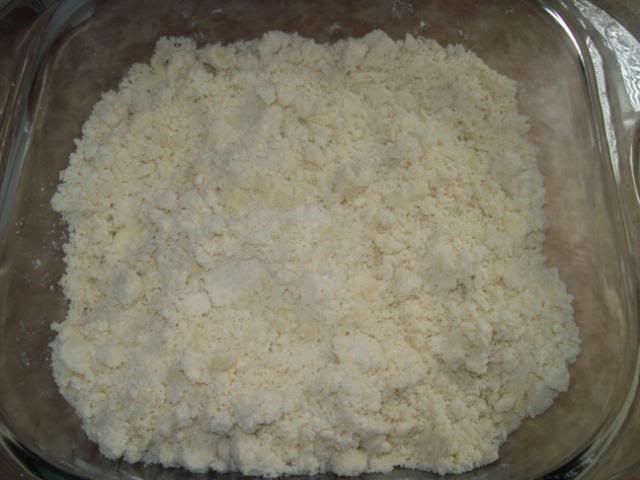
Add the water bit by bit until you can softly knead it into a workable ball. KEep oin mind that the less water you use, the softer the crust will be, as water and additional kneading develops gluten. Flour a counter/cutting board and roll the ball out, turning 1/4 turn each time. Once it's about 1/2" thick or so, place the crust on top of the pie plate and pinch the edges to seal -- make sure to push the dough down onto the apples so there isn't an air pocket before sealing. Trim the dough (I used a pizza cutter) so it just hangs over the side of the pie plate.
Brush the crust with an egg yolk and cook in a pre-heated 400-degree oven for approximately 45 minutes. Keep an eye on it late in the cooking, as it could possibly boil out all your oven or burn in a matter of minutes. When oyu take it out, let it sit for about 5 minutes, but remove it fairly quickly, as you don't want the caramel to re-solidify. Place a platter on top of the crust and flip the pie plate over. I managed to flip this one with only a single apple falling off, which I was extremely happy about. Here's what it looks like all done and steamy: